Tutorials
Learning from Cinema: 10 Tips & Tricks on Framing Your Photos
By EyeEm - 4 min read

How to use natural layers to dramatically increase depth and dimensions of your photos
We usually put images into frames as a way of displaying and drawing attention to our photos. But did you know that you can also use natural layers to dramatically increase depth and dimensions of your photos? Here are 10 tips & tricks to get you started.
What is framing?
Framingis the technique of focussing on a specific motifby blocking other parts of the image with something in the scene. It originally stems from cinematography – where masters such as Alfred Hitchcock used it to create suspension – but can be widely adapted by photography as well.
What do you need it for?
It’s great for highlighting scenes and adding emotion & suspension to your shots. Just keep in mind what Alfred Hitchcock said:
Drama is life with the dull bits cut out.
Now let’s get started, shall we?
1. Windows are the best frames
Windows are everywhere and usually provide great light for your photographs. Use them for framing your photo: what’s inside the window frame will be the center of attention while everything that’s outside remains hidden.
2. Keep the surrounding blurry
A more subtle way to use framing is to use natural layers in front of your lens. By using depth of field or tilt-shift effects you can focus entirely on the subject in the back while the front layers remain blurry.
3. Play with architecture
There is always some architecture around you that can add suspense to your photo. Look out for things like a narrow street, a hallway or an arcade: now take a step back, put your subject right in the centre and let the architecture do the rest.
4. Add some vignette
Sometimes you just don’t have the time to perfectly arrange the subjects in front of your lens. In these cases, adding an artificial vignette to your photo can do a great job – it adds dark edges on the side of your photo and will increase the effect of the subject in the center.Try EyeEm filters like kCeor Cabu for the most dramatic effects.
5. Compose your photo with the people around you
Whenever you’re in crowded places you can use the shapes & silhouettes of other people to focus on a single subject. Shoulders, heads, legs, shoes… get creative and shoot.
6. Mirror mirror on the… ?
Mirrors make great frames. They come in all kinds of shapes and sizes and the results are different depending how close or far you can get. Try taking self-portraits and shoot from the most impossible perspectives to achieve the best results.
7. Look up
Houses or skyscrapers provide great geometrical shapes to use for framing. You may also use tree branches, power lines or even unusual objects such as basketball rims to put your subject into focus.
8. Use a frame as a frame
Sometimes it can be so easy, right? Get a frame at the flea market and get creative.
9. Look for shapes in your surrounding
Take a seat wherever you are and look around. Do you see anything you can shoot through? Look out for columns, seats, pairs, squares, holes, shapes… just put your camera in front of it and use the shapes for your framing adventures.
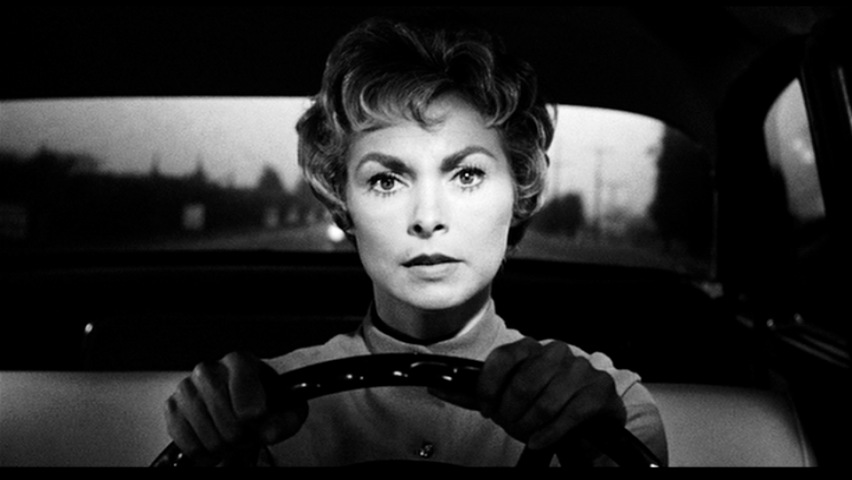
10. Watch more Hitchcock
Learn from the best. Watch Alfred Hitchcock movies and we guarantee you’ll learn a thing or two about framing. Especially recommended: Rear window, Psycho and North by Northwest.
Recommended Blog Posts
– How to use the rule of thirds to get charming compositions
– 10 tips & tricks for taking awesome candids
– 10 Tips & Tricks for Shooting Great Portraits